There’s something almost meditative about making pie crust from scratch. The cold butter, the rhythmic pulse of the food processor, the way flour dusts the countertop like the first snow of winter. I used to avoid homemade crusts, convinced store-bought was "good enough." That changed the first time I tasted the difference: crisp, golden edges and a rich buttery layer that practically melted between bites of warm apple filling.
If you're tired of pie crusts that taste like cardboard or crumble into frustration, this is the recipe that might just change your baking game. It’s simple, uses real ingredients you probably already have, and it gives you that perfect balance between flaky and tender. Whether you’re filling it with berries or chicken pot pie, this is the foundation you’ll want every time.
Jump to:
Why You’ll Love This Recipe
- All-butter flavor: This crust delivers a rich, buttery taste that instantly outshines anything from the store.
- Flaky texture every time: Cold butter and the right technique create those golden, tender layers that actually flake when you cut in.
- No fancy tools needed: You can make this dough with a food processor or just a pastry cutter and a bowl. Simple tools. Big payoff.
- Freezer friendly: Make a double batch and freeze the extra. Future-you will be thankful when pie cravings hit.
- Works with sweet or savory pies: From apple to quiche, this crust plays nice with whatever filling you're dreaming up.
- Beginner friendly, but pro-approved: You don’t need to be a pastry chef to pull this off, but the results taste like you are one.
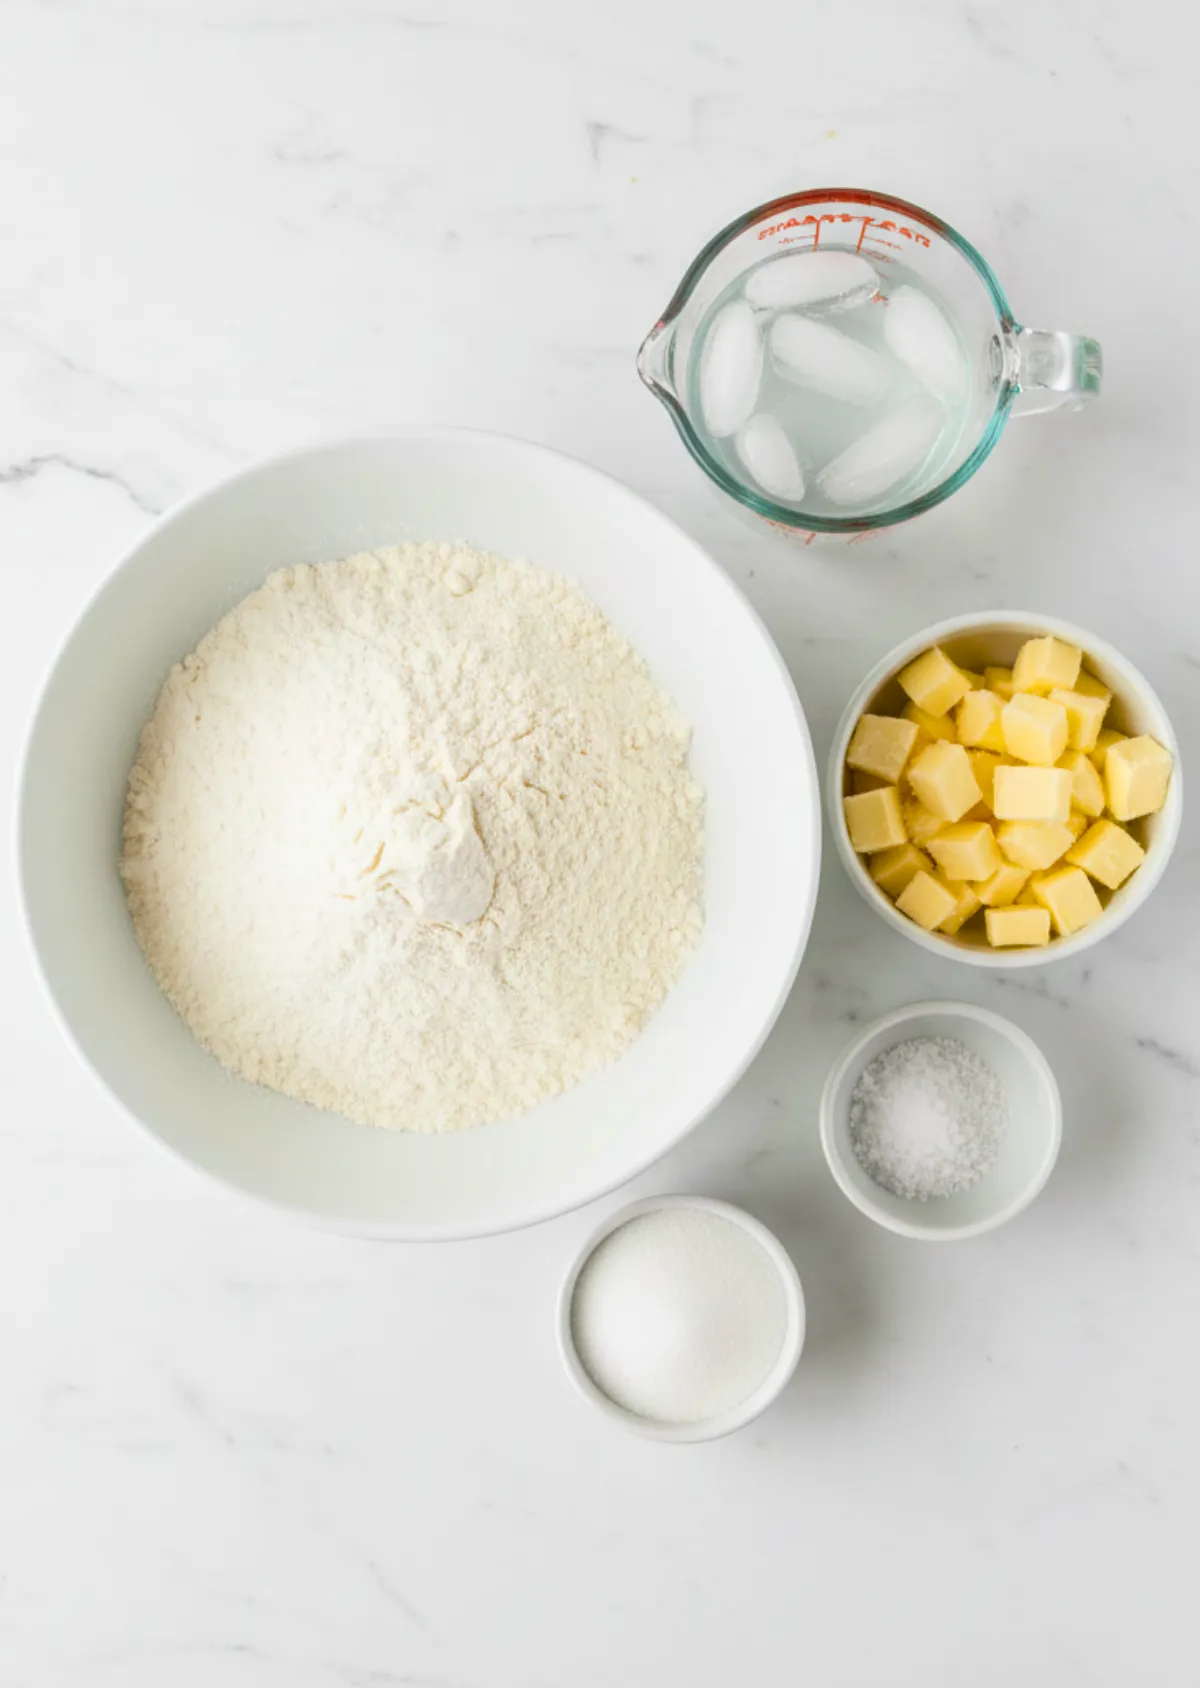
Ingredients You'll Need
- 2 ½ cups All-purpose flour – The base of your dough. Make sure it’s measured correctly to avoid a dry or sticky crust.
- ½ Tbsp Granulated sugar – Just a touch to balance flavor. It adds a subtle sweetness without overpowering.
- ½ tsp Sea salt – Enhances flavor and balances the butter. Skip it and the crust can taste flat.
- ½ lb Unsalted butter (cold) – This is key. Cold butter means flakier layers. Dice it into small cubes before starting.
- 7 Tbsp Ice water – Helps bring the dough together without melting the butter. Keep it chilled until the last second.
Optional: You can prep the butter in advance and keep it in the fridge while you measure the other ingredients. It makes a real difference in texture.
How to Make Homemade Pie Crust
Step 1: Mix the dry ingredients
In a food processor or large mixing bowl, combine the flour, sugar, and salt. Give it a few pulses or whisk it by hand to blend everything evenly.
Step 2: Add cold butter
Drop in your diced, cold butter. Pulse just a few times until the mixture looks like coarse crumbs with some pea-sized pieces still visible. If you’re using a pastry cutter, cut the butter in gently without overworking.
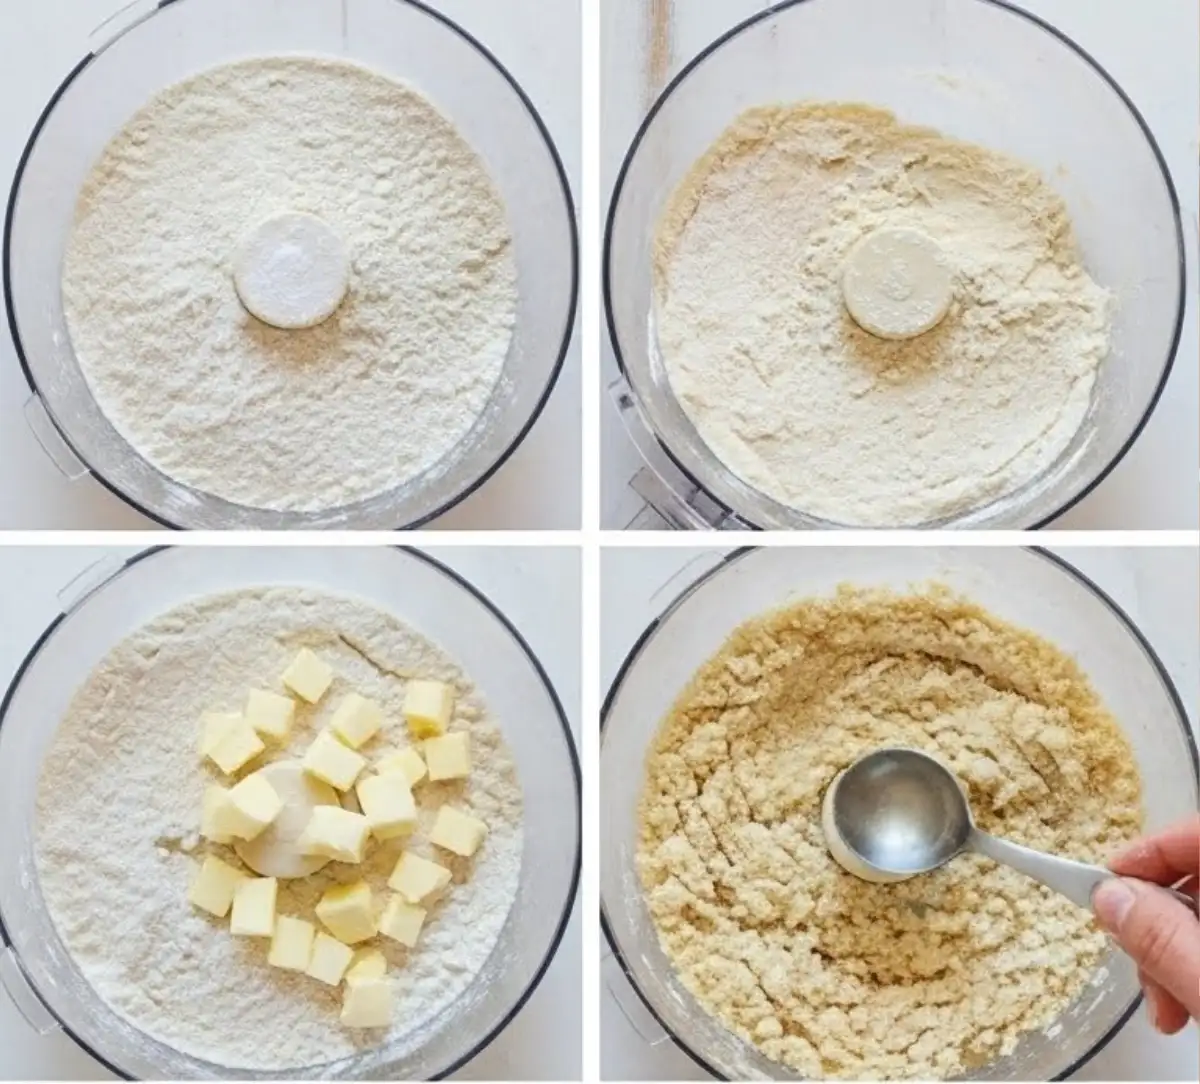
Step 3: Add ice water
Drizzle in the ice water, starting with 7 tablespoons. Pulse or stir just until the dough starts to clump together. If it still looks dry, add more water one teaspoon at a time. You want the dough to hold when pressed, not turn sticky.
Step 4: Form the dough
Turn the mixture out onto a clean surface. Gently gather it into a ball without kneading. Divide it in half, shape each half into a disk, and wrap tightly in plastic wrap. Chill for at least one hour.
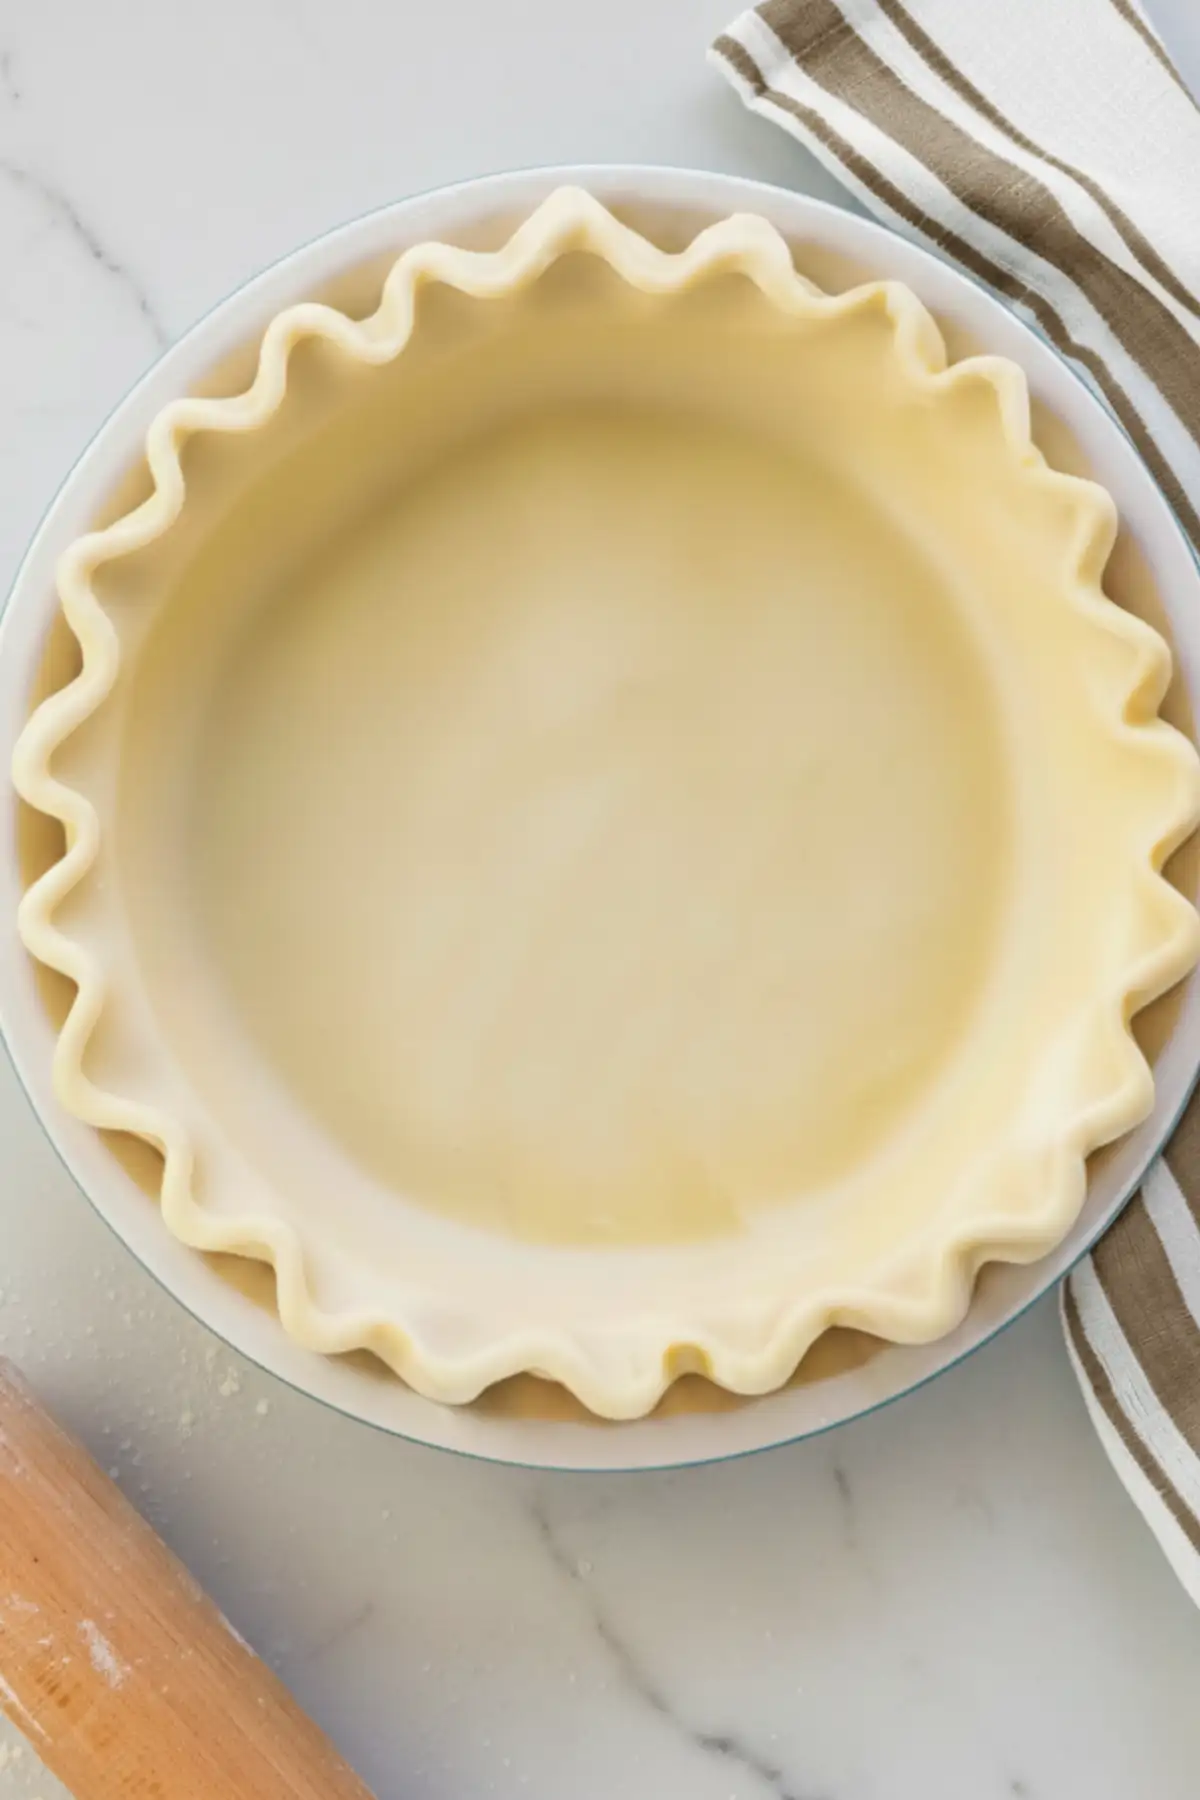
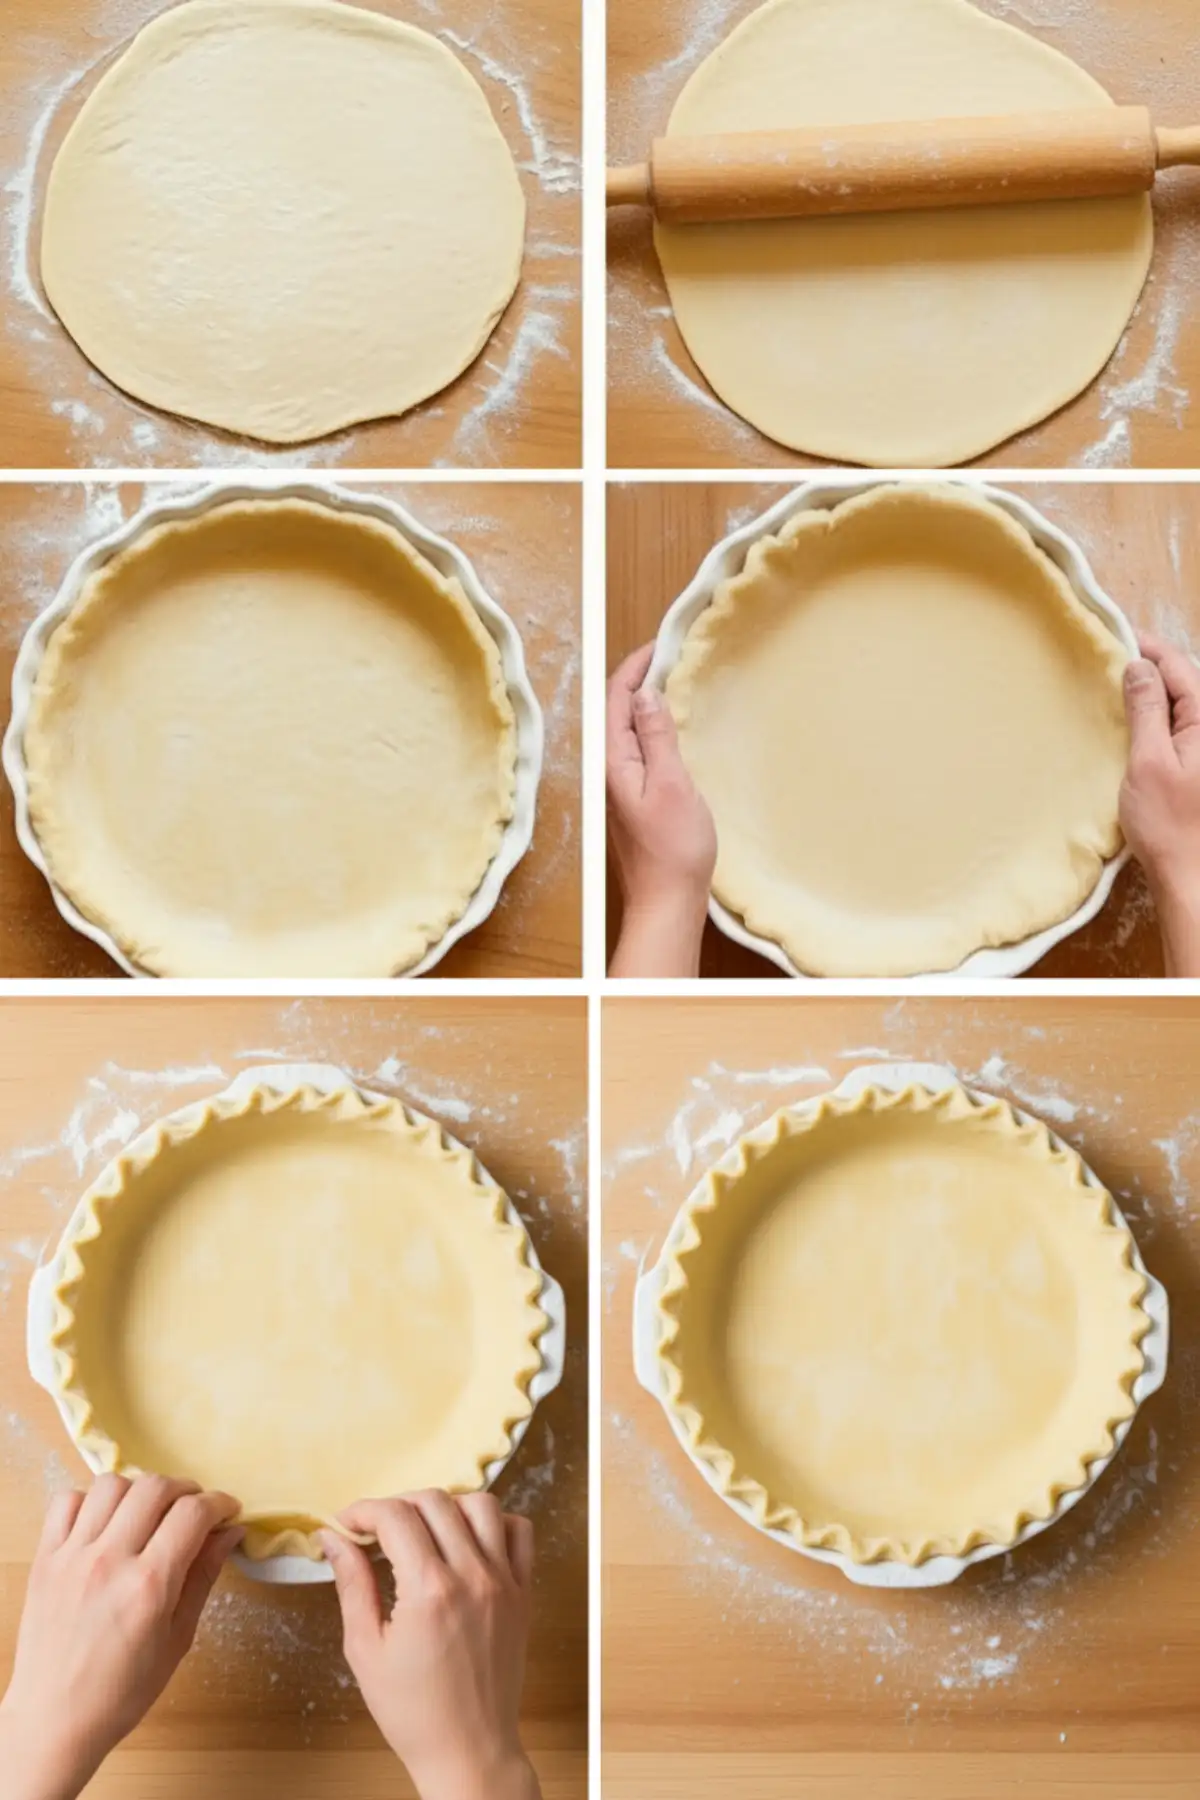
Step 5: Roll it out
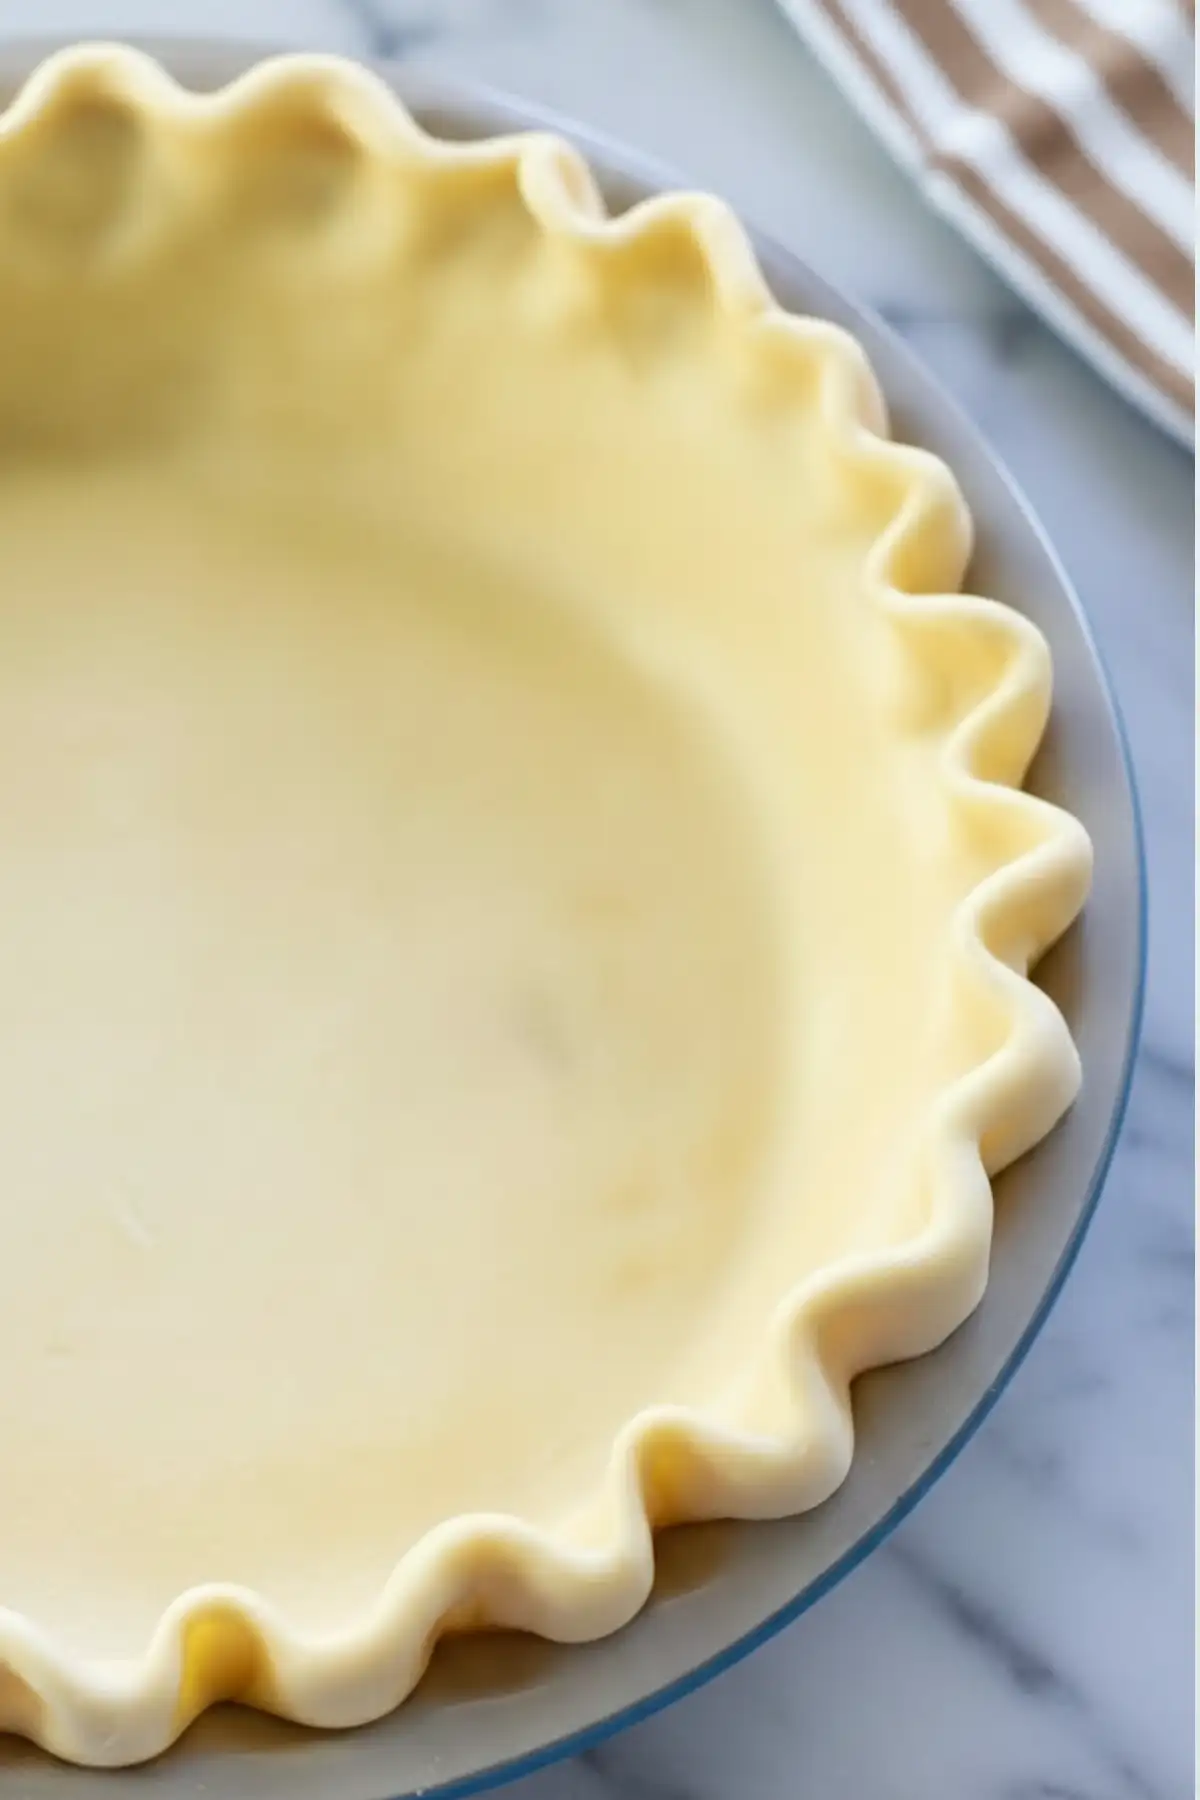
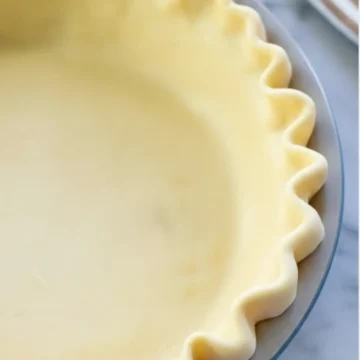
Once chilled, dust your surface with flour and roll one disk into a 12-inch circle. Use a rolling pin to transfer it into your pie dish. Press it gently into the bottom and sides, and trim or fold the edges as needed.
That’s it. You’ve just made real, buttery pie dough from scratch.
For pies that use an unbaked crust—such as pumpkin, apple, or chicken pot pie—simply add the filling directly to the raw crust and bake according to the recipe instructions.
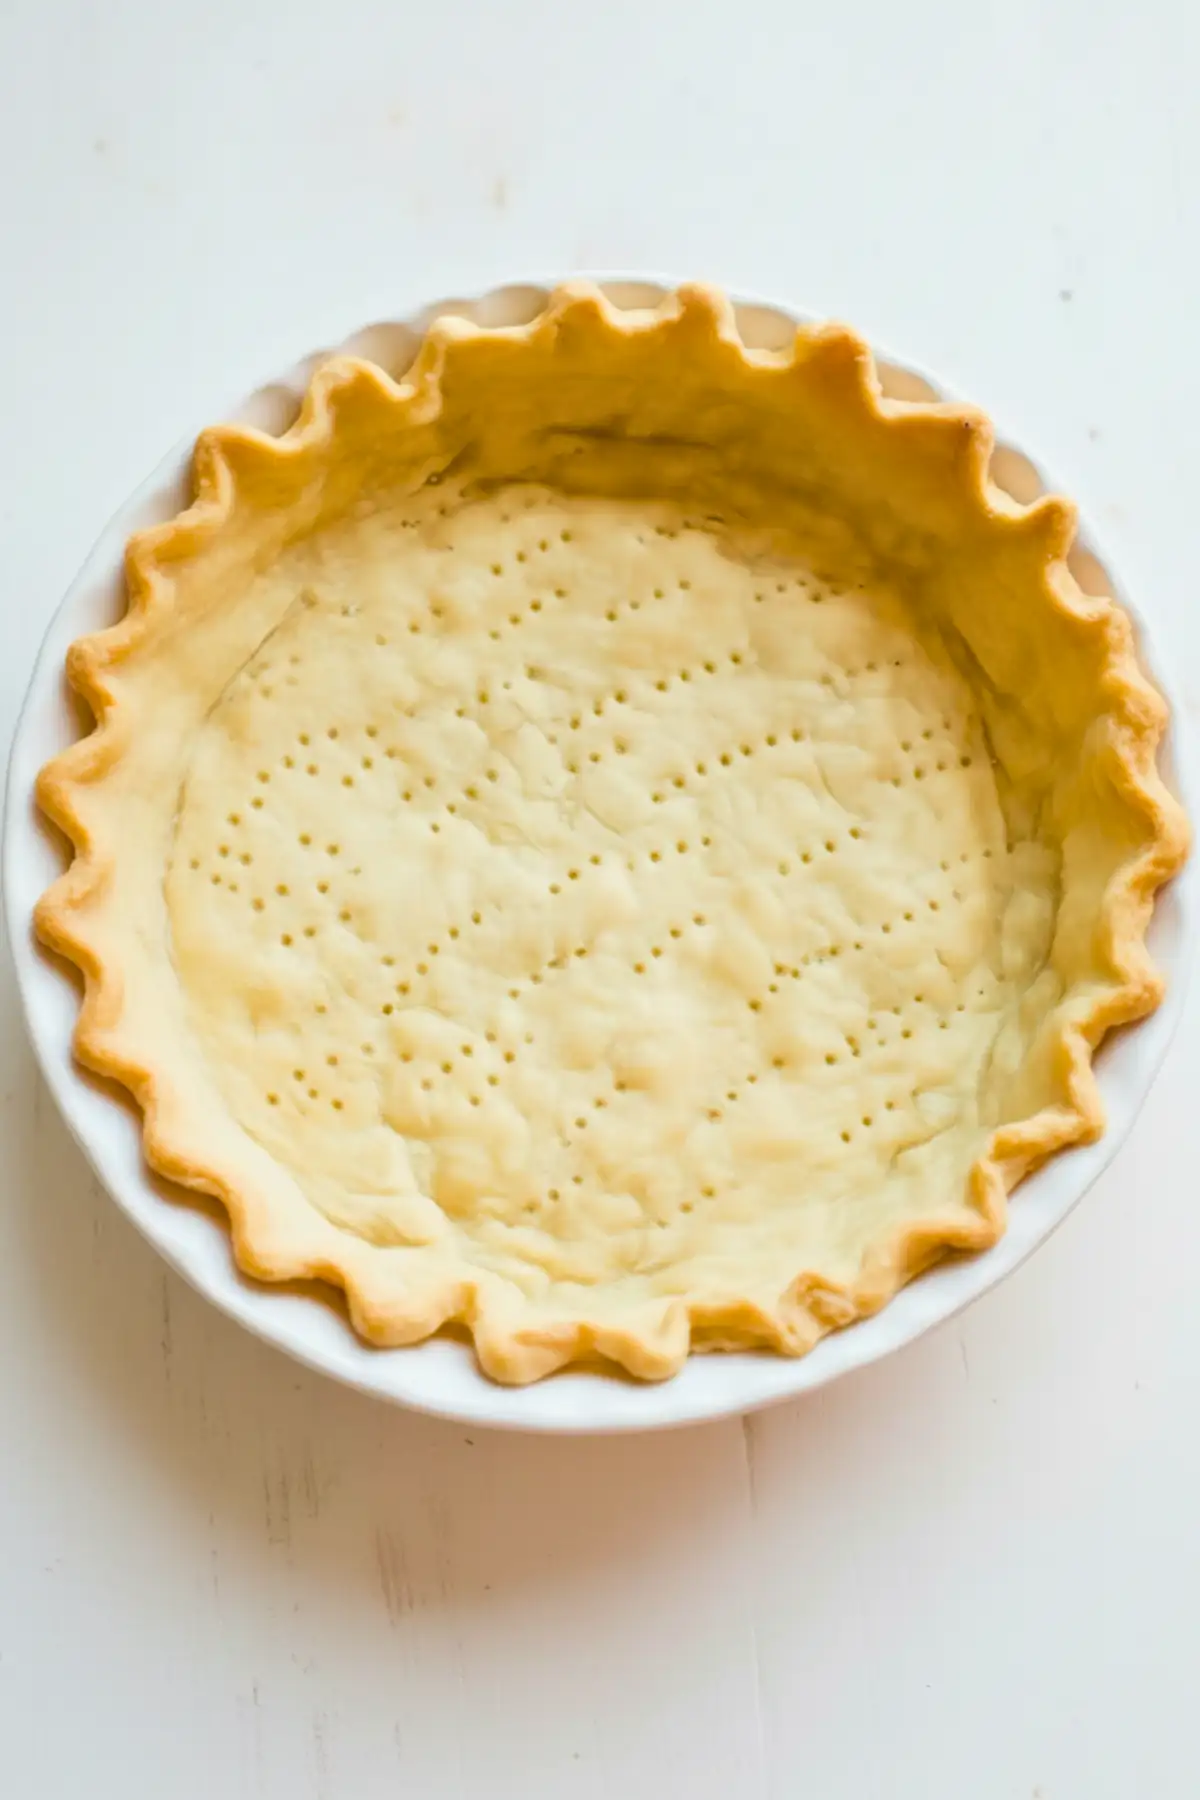
To make a blind-baked (pre-baked) pie crust, you’ll need pie weights, dried beans, or uncooked rice to prevent the crust from shrinking as it bakes. Line the unbaked crust with a large piece of parchment paper, then fill it with pie weights or 1–2 cups of beans or rice. Bake at 375°F for 15–20 minutes. Carefully lift out the parchment paper and weights, prick the bottom of the crust with a fork, and return it to the oven for another 10–15 minutes, or until lightly golden. Let the crust cool completely before adding the filling.
Pro Tips from My Kitchen
✓ Keep everything cold – Cold butter is what gives you those beautiful, flaky layers. Chill your butter, your water, and even your flour if your kitchen runs warm.
✓ Don’t overwork the dough – The less you mess with it, the better. Overmixing develops gluten, which can make the crust tough instead of tender.
✓ Use your hands sparingly – Your hands are warm and can soften the butter. A food processor or pastry cutter helps you keep the temperature just right.
✓ Let it rest – After forming the dough into disks, let it rest in the fridge for at least an hour. This helps the gluten relax and makes rolling easier.
✓ Roll from the center out – Roll your dough outward in every direction, rotating the disk as you go. This gives you a more even circle and helps prevent sticking.
✓ Patch tears with extra dough – If your crust cracks while rolling, no stress. Use a pinch of extra dough and press gently to repair it before baking.
Frequently Asked Questions about Pie Crust
Usually, that means the dough is too cold or too dry. Let it sit at room temperature for 10 to 15 minutes before trying again. If it still cracks, add a light sprinkle of water and gently knead the edge.
Sticky dough usually means too much water was added. Try dusting your surface and rolling pin with flour. Chill the dough for a few minutes to firm it up before working with it.
Yes, this dough freezes beautifully. Wrap each disk tightly in plastic wrap, then place in a freezer bag. It will keep for up to three months. Thaw in the fridge overnight before rolling.
Blind baking is needed if your filling is very wet or if the recipe calls for a pre-baked crust, like with a quiche or cream pie. Line the crust with parchment and fill with pie weights or dried beans before baking.
No problem. A pastry cutter or even two forks can work. Just be patient and keep the butter cold. It might take a bit longer, but you’ll still get great results.
Homemade Pie Crust Recipe
Ingredients
- 2 ½ cups all-purpose flour plus more to dust, measured correctly
- ½ tablespoon granulated sugar
- ½ teaspoon sea salt
- ½ lb COLD unsalted butter diced into ¼″ pieces
- 7 tablespoon ice water 7 to 8 Tbsp
Instructions
- In a food processor or large mixing bowl, combine the flour, sugar, and salt. Pulse or whisk to blend.
- Add diced cold butter. Pulse a few times until the mixture resembles coarse crumbs with some pea-sized pieces. If using a pastry cutter, work it in gently.
- Drizzle in 7 tablespoons of ice water. Pulse or stir until the dough starts to clump. Add more water by the teaspoon if needed.
- Turn the mixture onto a surface and gather into a ball. Divide in half, shape into disks, and wrap in plastic wrap. Chill for at least 1 hour.
- After chilling, dust your surface with flour and roll one disk into a 12-inch circle. Transfer to your pie dish, press gently, and trim or fold the edges.
- For pies that use an unbaked crust—such as pumpkin, apple, or chicken pot pie—simply add the filling directly to the raw crust and bake according to the recipe instructions.
- To make a blind-baked (pre-baked) pie crust, you’ll need pie weights, dried beans, or uncooked rice to prevent the crust from shrinking as it bakes. Line the unbaked crust with a large piece of parchment paper, then fill it with pie weights or 1–2 cups of beans or rice. Bake at 375°F for 15–20 minutes. Carefully lift out the parchment paper and weights, prick the bottom of the crust with a fork, and return it to the oven for another 10–15 minutes, or until lightly golden. Let the crust cool completely before adding the filling.
Notes
- Keep butter and water cold for best flakiness.
- Don’t overmix – it toughens the dough.
- Let dough rest in fridge to relax gluten.
- Roll from the center out for even thickness.
- Patch any cracks with extra dough before baking.

Karen swank says
Thank you so very much
Olivia Ross says
You're welcome.